
A promise is a promise……..but do accept my apology for the late posting of this recipe as requested by a few of you. I was searching for the photos of this recipe to refresh myself what is it actually……….and I guessed I'm so ooo……….way back behind oh……I have so many recipes posting that wasn't been posted yet…….really sorry about that, will definitely try to make up and catch up too.
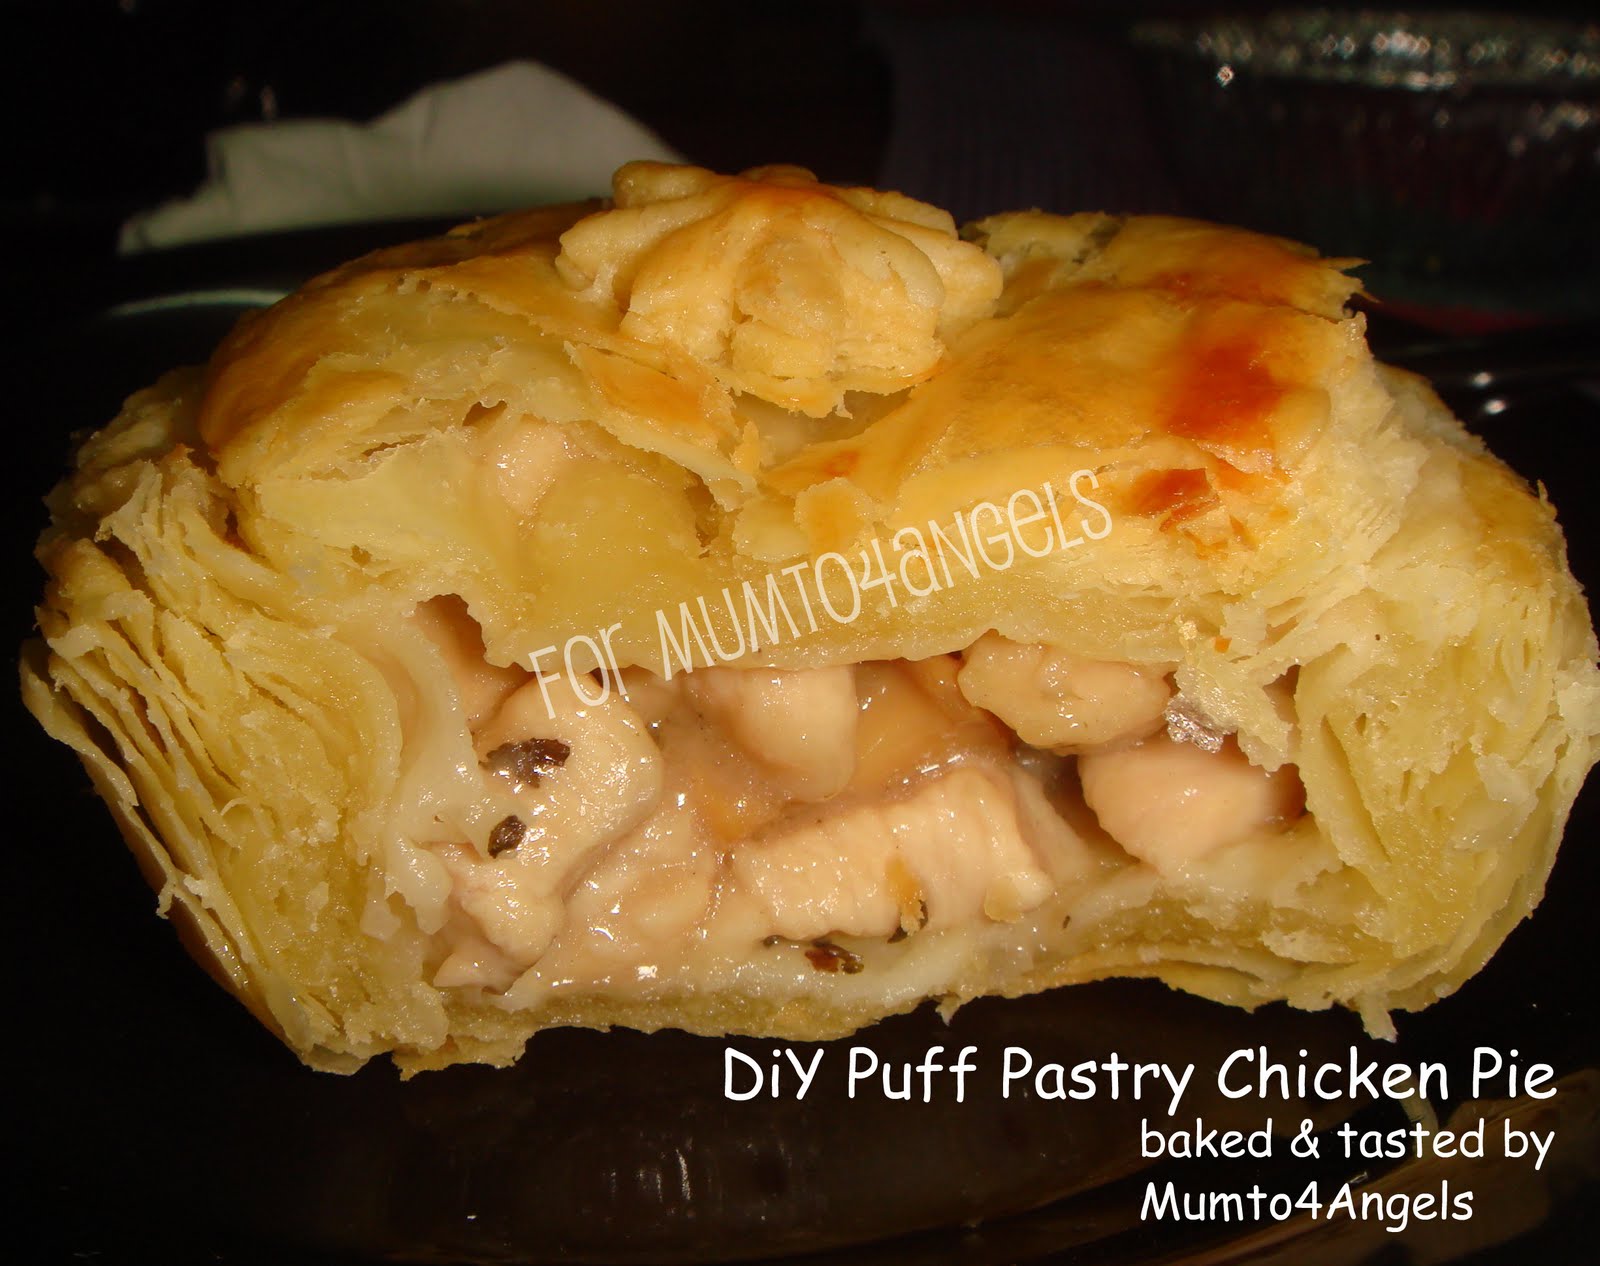
In fact the main focus on this Chicken Pie would be the DIY Puff Pastry as the filling can be of anything that you like and comfortable with……..you might like Curry Beef, Mushroom Chicken, or even plain vegetable pie will be good too. Therefore, do excuse me on the recipe for the filling, as I did exactly the same with my previous post on "Chicken Dome Pie"……you knowlah, I'm not a cook when it comes to the wok………so I normally settles down with something that doesn't requires me to a heavy cooking and ended up messing the whole kitchen with splattered oil here and there…..hehe :P
I hope you will be understand the diagram that I have draft out (it's a courtesy from here) to show you how you go about folding the dough and the pastry margarine and to form the layers in a puff pastry. For your information, the more amount of time you fold it, the more layers you'll get ……..and the maximum should be around 5-6 folds, as the more folds you do, the pastry margarine will thins out and eventually, it blends in with the dough already.
So, this is the original recipe and I normally halve it as I find that it's quite a big amount to make the whole ingredient. With the halves, I normally can get about 10-12 pieces of curry puffs or 8-10 chicken pie with a pastry cover……………hehe.

¾ Puff Pastry Recipe
880gm All Purpose Flour / Plain Flour
13gm Salt
510ml water, room temperature
660gm Butter slab / pastry margarine
Method
- Sift the flour, mix it with salt and water and form a dough, you might need additional flour to mix it until it doesn't stick to your fingers anymore. Do not over knead it.
- Cover the dough with a cling wrap and let rest in the fridge for about 30 minutes.
- Roll out the pastry margarine / butter slab to 2/3 of the dough (as shown in the diagram). Make sure that there isn't too much excess dough at the side.
- Fold #1 according to the diagram and then Fold #2. Wrap it up with cling wrap and let the dough rest for 30 minutes in the fridge.
- The turn the dough 90 degree and repeat the fold #1 and then fold #2 (without the pastry margarine / butter slab of course).
- Repeat another 90 degree turn and let it let rest for 30 minutes again in the fridge. (Always remember, puff pastry requires a lot of resting for the dough each time you have fold it….*sigh*).
- Then again, repeat the 90 degree fold until you have a good 5-6 turn, where it will gives you approximately 243 layers for 5 folds and 729 layers for 6 folds.
- Again…….before you do anything to it, please let it rest again for another 30 minutes….LOL, I know you are getting impatiently already……..:P, but it's a must oh, no joke.

Use a pastry brush to egg wash it and bake at 180~C for about 20-25 minutes or until it is golden brown in colour. Take it out, cool on the wire rack and ready to serve.
Happy DiY Puff Pastry Baking ya........;)
No comments:
Post a Comment