Sunday, June 27, 2010

Brioche I - French Butter Bread


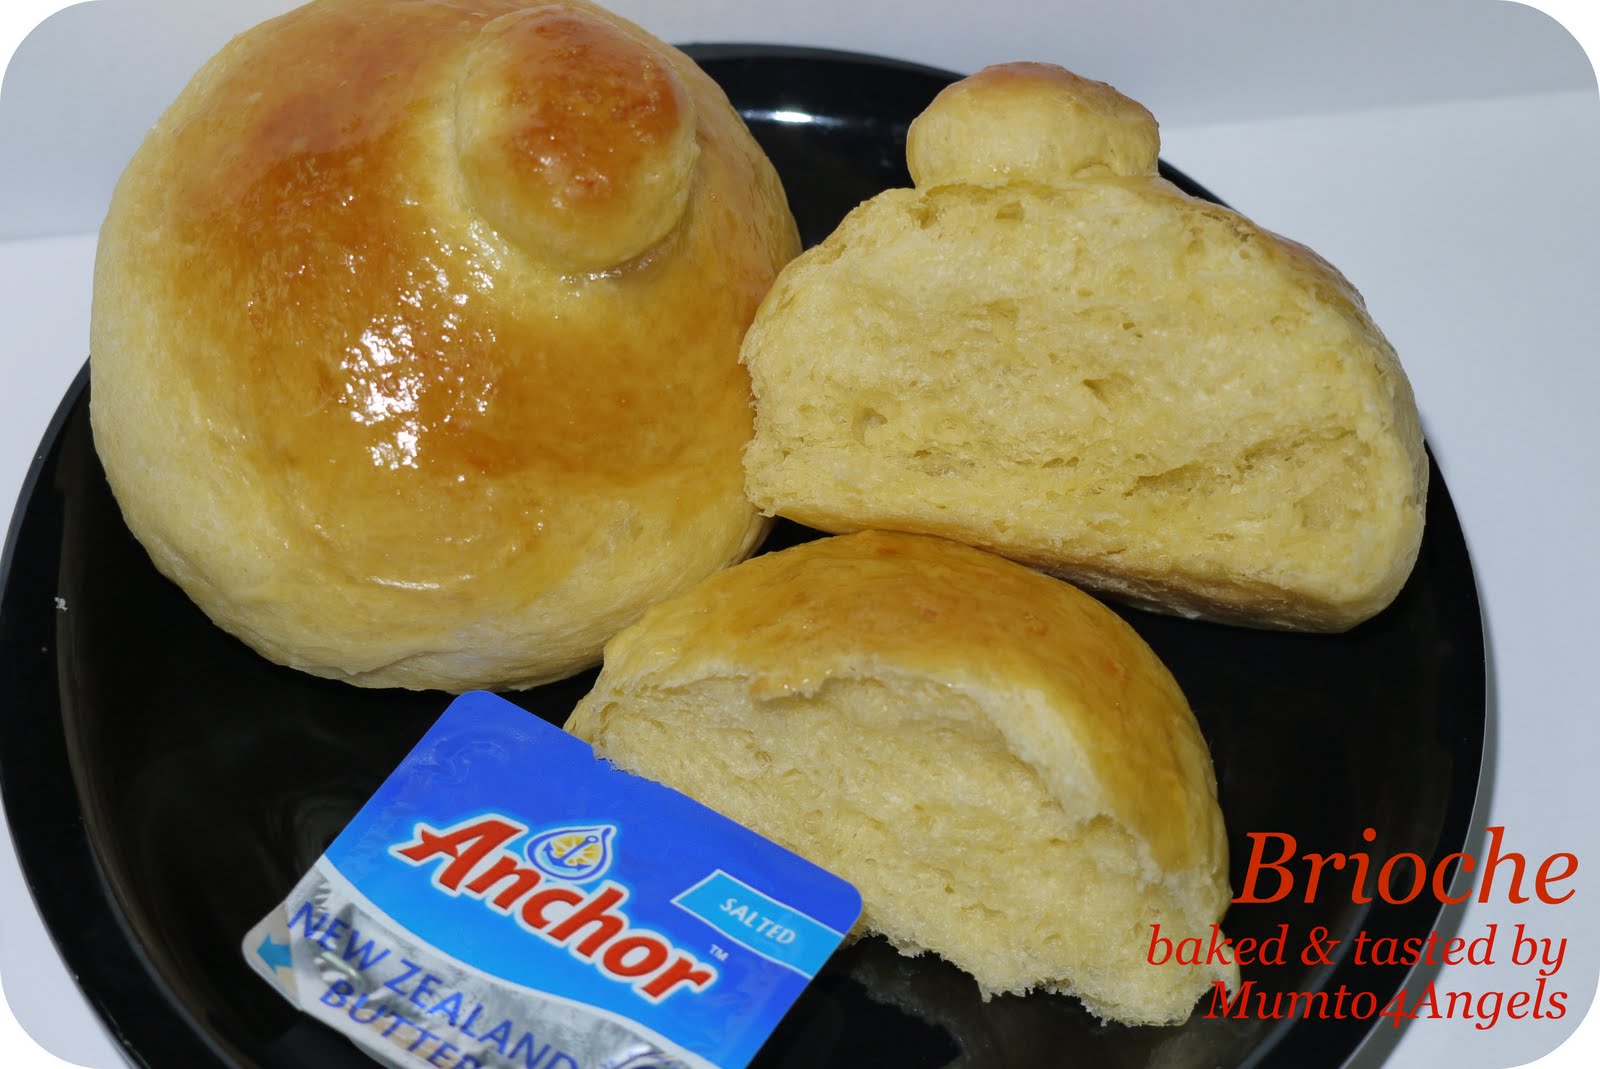
Brioche? Have you heard of this French bread before? Well, I did a little research and found that Brioche is a highly enriched French bread, whose high eggs and butter content give it what it seen as a rich and tender butter crumb. It has a dark, golden, and flaky crust from egg wash applied after proofing. A Brioche is normally baked in a fluted round tin; a large ball of dough is placed on the bottom and topped with a smaller ball of dough to form the head."Well, you have been a lot of cakes lately", said my Hubby to me…..hmm, did I? Ok, fine then, maybe I did, because even he kids said so……..and my waistline shows a little disappointment already………OK! I'll bake breads and buns starting this weekend I thought, for a change, since he and the kids voiced out…..and I don't want to add another inch to my waistline or another kg to my bathroom scale, :P
I was a bit fed-up with the traditional 'Sweet Bun Dough' varieties that I have been baking all these while…….as I wanted to do something out of my comfort zone, so I picked 'Brioche' – something not Asian, but French. Since a friend recently told me that I'm quite good in all things French……hehe, let's see if this works ^-^
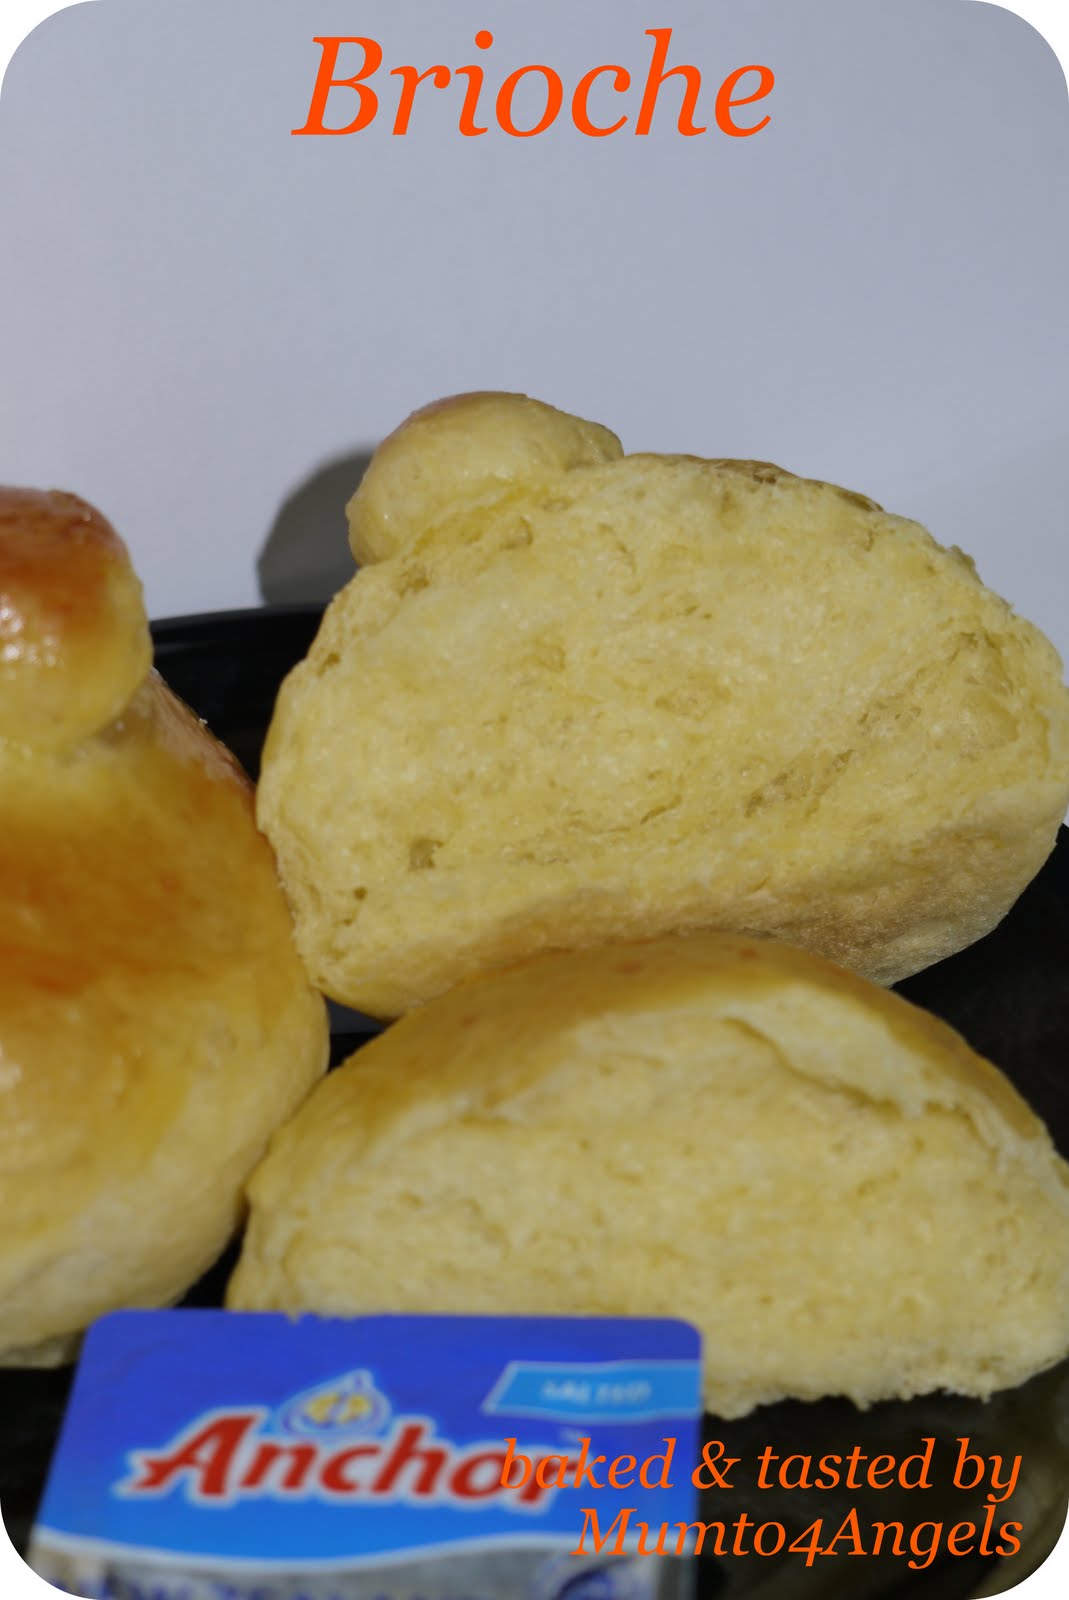
The recipe I had chose was taken from my own cookbook collection – Alex Goh's The World of Bread. It's pretty straightforward and doesn't look any complicated……well, the only 'unique' step that I found a bit unusual is that it requires the dough to be kept in the freezer for 1 hour, as the refrigeration will solidifies the dough which still rises, albeit slowly making it easier to form before it is being divided into individual buns to be shaped. The outcome was really good, I must admit I like it so much, and so are the kids…….even my little girl, Angelica who seldom is a supporter to anything I baked (except Meringue cookies), but hey, for Brioche……..she ate 3 in a roll and demand for a 4th one….LOL. This recipe yields only 12 buns and I actually intended to kept some for the boys to bring to school the next day, but ………ended all gone in less than an hour, :P Its was very buttery in taste and smell, the texture was really soft and its good even eaten plain……..though they say its normally being spread with butter, jam or marmalade.
If you are a fan of breads or buns, do add this to your baking list…….it won't disappoint you, I promise ;)


BRIOCHE
Ingredients:
(A)
250gm bread flour / H.P.flour
1 tsp salt
25gm castor sugar
2 tsp instant yeast
(B)
2 eggs, room temperature
50ml cold water
(C)
100gm butter, softened

Method:
  1. Mix (A) till well blended and then add (B) and mix to form a dough.
  2. Add (C) and continue to mix to form a smooth, elastic dough.
  3. Shape it into a ball. Place it in a bowl and cover with clear cling wrap / kitchen towel and let it rise for 1 hour. (FYI, I went out for breakfast and left it there for 3 hours :P)
  4. Knead the dough again and make it into a ball. Cover it again with cling wrap / kitchen towel and put it in the freezer for 1 hour.
  5. Remove dough from the freezer and divide it into 40gm pieces. Shape them into balls and put them into 8cm brioche fluted mould. Press the centre with your index finger to make a deep indentation.
  6. Make some small balls from the remaining dough and place them onto the indentations to form the 'head'.
  7. Brush on some egg wash and leave them to proof for another 50 minutes.
  8. Brush with egg wash again before putting them into the oven to bake for 15 minutes at preheated oven of 180 degree Celcius.
  9. Remove from the oven and serve when it's still hot. (But it's as good even after it cools down).
Happy Brioche baking!

Saturday, June 26, 2010

Chocolate Molten Cake with Vanilla Ice-cream


It's another night of endless 'exciting' football matches lined up and I just have to bake something to keep me awake so that I can last through the twilight until 2.30am's match. :P Tonight I wanted to eat something that has chocolate in it, I meant really, and lots of chocolate in it…….I can opt for a bar of Toblerone though, but that just doesn't quite do the trick. I flipped through my recipe files in the study room and even get some generous suggestion from the kids to see what they have in mind…….but 'sigh' they are so hooked up in their computer and PSP games……that no one is suggesting anything. Fine! I'll do the pick myself……..and I chose "Chocolate Molten Cake" because when I read through the recipes, I'm a bit curious this cake, or should I say 'little cake', as it was baked in ramekin like soufflés………does not calls for any flour in it. Wooo……pure semi-sweet chocolate, I love that…..just what I want……it promises a texture that is light and soft, and airy and yet……you don't feel like you have eaten a huge bar of chocolate and later felt guilty about it….cool huh?


Yeap, that's what I wanted now…….this will be my dinner tonight……and on top of it, I'm going to eat it with a full scoop of Vanilla Ice-cream…….tell me about the calories later :P
Here's where I got the recipe……..something different, something special!


Happy Baking !

Sunday, June 20, 2010

Orange Cheesecake for Happy Father’s Day


Yes, today is "Happy Father's Day" …..so happy, happy Father's Day to all the daddies in the world….and most of all, to the 2 daddies in the house, my Hubby and my FiL….hehe :P I missed my dad so much , every year when it's Father's Day, I'll have very deep thoughts of him, it always feels like he has just gone not so long ago, but in fact this is the 13th year already ………..that's why I people always says 'Time flies so that it heals those who are hurt'…….God bless you Dad and I'll always love you ^_^
I haven't been making cheesecakes lately, I think the last one I did was an order made by a friend to be gifted as an "anniversary cake" to her client. So, I decided to make cheesecake for this occasion as you might still remember me quoting that MiL bought a box of oranges few days ago? Hehe………this is another excuse of using those oranges as an ingredient in one of my bakes again.
Orange + Cheese = Orange Cheesecake…….perfect! I already love the sound of it, as I'm a citrus fan myself, so any food with a citrus blend in it is my cup of tea…..LOL
I chose the recipe from my cookbook – 'The Ultimate Indulgence Cheesecake' by Chef Alan Kok. It's a really rich cheesecake but perfect with a blend of fresh orange juice and the taste is just nice…..that doesn't make you feel each piece is as heavy as it is ;)

 ORANGE CHEESECAKE
Base :
1 slice 8 inch chocolate sponge cake
(By the way, I substituted the sponge cake base with a biscuit base instead)
-150gm Digestive biscuits, crushed
-70gm butter, melted in a double-boiler
To make the biscuit base - Mix the crushed biscuits with the melted butter, mix well. Then pour it into a lined 8 inch cake tin and pressed to the base until firm and smooth. Store in the fridge until ready to use.

Cream cheese mixture:
(A)
500gm cream cheese, softened to room temperature
2 egg yolks
50ml milk
1 orange, squeezed juice
Zest of 1 orange Tbsp orange liquor / rum (Optional)
50gm plain flour, sieved
(B)
2 egg whites
90gm castor sugar

 Method:
  1. Preheat oven to 200 degree Celsius. Line and 8 inch round cake tin with grease proof paper and put in a piece of prepared sponge cake.
  2. Cream the cream cheese, egg yolks and milk until smooth. Add in orange juice, orange zest, orange liquor / rum is using, plain flour and stir until well mixed and smooth.
  3. Whisk egg whites and castor sugar at high speed until stiff peak is formed (about 5-7 minutes). Fold the egg whites into cream cheese mixture in 3 batches slowly.
  4. Pour the mixture onto the sponge cake and level the surface.
  5. Steam bake the cheesecake in the preheated oven at 200 degree Celsius for 15 minutes or until the surface is lightly brown. Reduce the temperature to 150 degree Celsius and bake for another 50 minutes or until cooked. Turn off the heat. Leave cake to cool in the oven with door ajar for 1 hour by placing a wooden spoon at the oven door.
  6. Remove the cake from the tin after 1 hour of cooling, and chill in the fridge for at least 4 hours before decorating or serve.
     
Happy Cheesecake baking !  

Saturday, June 19, 2010

Learn2Bake June Part 2 Challenge – Danish Butter Cookies


OK, it's the month of the FIFA Worldcup and to tell you the truth, I'm on watching all the matches I can get myself up and awake at :P Therefore, you can see that I'm lagging behind on my postings lately, hehe……I'll try to catch up as much as possible as I wouldn't want to be left with post that is too overdue and expired. The Learn2Bake club is still carrying on with the challenges and I'm not going to let the Worldcup drag slow me down, so I decided that since this weekend is 'Happy Father's Day' , I'll make it a point to bake something and also to complete my challenge that has been lining up in my "TO DO" list. So I baked my Learn2Bake June Part 2 Challenge – Danish Butter Cookies today.I did not use the recipe chosen for the challenge, as I wanted to try other 'Danish Butter Cookies' recipes that I have collected. This is an advantage for myself and the members as we get to test 2 recipes at the same time. The reason also being that I heard a few members who has already completed their challenge commented that the recipe given was a bit 'sweet' and the 'buttery' taste of the cookie is not that obvious…….hmm, I wonder this one that I'm going to use will be a bit different, as I realized that the one the members are using has 'a teaspoon of lemon juice' in it…….and mine doesn't :P
I did made a note to cut down on the sugar as I find that it's a bit ridiculous to call for 1 ½ cup of sugar (337gm)…….that was really a lot!!! I initially wanted to shaped the dough into a flower shape using the cookie piping tube, but the dough was way too soft and the shape just doesn't come out as one, it was all in a lump and to tell you the truth, it was really messy….especially when I had to clean and wash it…..gosh! So lastly, I decided to do a 'drop' cookie using 2 teaspoons……..and well, it sure safe me a lot of time and mess too. The decorating was pretty simple as I want it to be as simple as just a 'Butter Cookies' , so I used only cut glace cherries and toasted almond flakes.
Final verdict, I would say the texture was really crispy and crunchy, though I still find it a little sweet (even after cutting down the sugar to 190gm, maybe I should use only 150gm next time), but the cookie was a really buttery Danish Butter Cookie……the kids loved them. This recipe yield about 2.5 dozen (2 full cookie jars) and it was gone in 2 days…….hehe
So, this is another Danish Butter Cookie recipe that you might want to keep besides the one that was being selected for the challenge……..for me, one challenge down and one more to go (Daring Bakers)…….phew!!


DANISH BUTTER COOKIES
(Recipe from CDKitchen.com, yields 2.5 dozen)
 Ingredients:
1¼ cup / 285gm unsalted butter, softened
1½ cup / 337gm granulated sugar (Please cut down to at least 150-160gm, as I find that 190gm is still sweet)
3 egg yolks, beaten
2¼ cup / 280gm all-purpose flour, sifted
1 tsp baking soda
1 tsp cream of tartar
1½ tsp vanilla essence / almond essence

 Method:
  1. Cream butter and sugar until pale in colour and fluffy.
  2. Beat egg yolks in, one at a time. Add remaining ingredients and mix well. Chill dough for about 30 – 40 minutes. (I did not chill as I was in a rush, hehe :P)
  3. Use a teaspoon to scoop a dollop of the dough, and light put on the cookies sheet lined with parchment paper. You can the back of another teaspoon to push the dough down and shape it to a round ball, then lightly flatten with the back of the spoon. Glaced with cut cherries or toasted almond flakes, or you can just leave it plain.
  4. Bake at preheated oven at 170 degree Celcius for 12 – 15 minutes or until the cookies is lightly brown in gold colour. Take note that the cookie will be soft to the touch when it's still hot, but will hardened when it's cool.

  1. Remove the cookie from the oven and cool on the rack for about 10 minutes, then transfer it to the rack to cool completely before storing them in an airtight container.  


Happy Butter Cookies Baking !!

Wednesday, June 16, 2010

Orange Chiffon Cake


Oranges, Oranges and more oranges.......hehe, my MiL bought a box of USA Navel Oranges and she gave me some to bring home. These oranges are so sweet and juicy and the best part is....there are seedless and fibreless. I was so tempted to bake something out it. I haven't bake cakes for the past few days already as I was busy watching my Worldcup matches starting from 7.30pm.....but I have to tonight because of these tempting juicy and sweet oranges :P
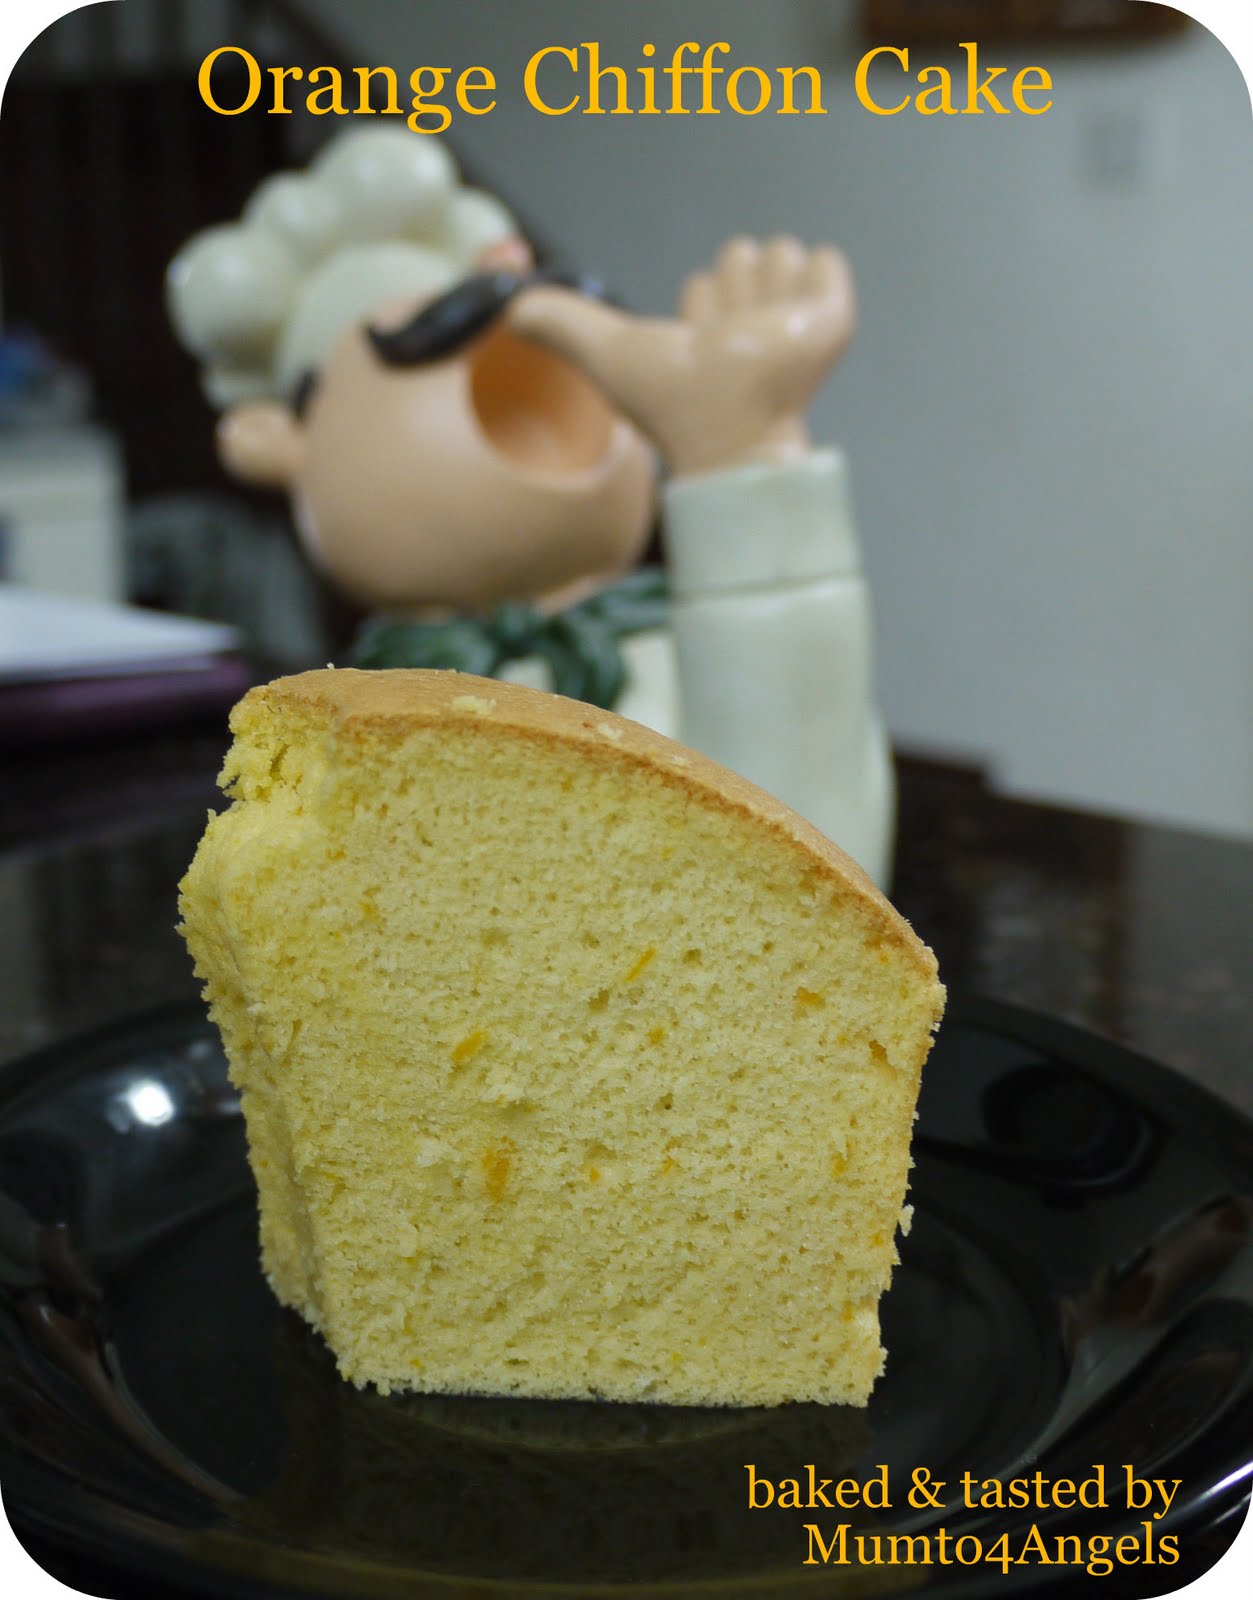
I picked this 'Lemon Chiffon Cake' recipe that a friend gave me few months ago, and substituted the lemon for orange.......and guess what, it turned out really good, the cake was airy, soft, light and not dry to the throat, it's perfectly moist with the citrusy orange smell and taste. Do take this recipe down and try it out......you'll love it, because I do ;)


Orange Chiffon Cake
(Makes one 18cm tube cake)
Ingredients:
100gm cake flour
1½ tsp baking powder
½ tsp salt
3 egg yolks
40gm castor sugar
50ml canola oil
50ml water
25ml fresh orange juice
Zest of 1 orange
*3 egg whites
*40gm castor sugar

 Method:
  1. Preheat oven at 170 degree Celsius. Sieve the flour, baking powder and salt together, set aside. Separate the eggs yolks/ whites.
  2. Place the egg yolks in a mixing bowl, add sugar in 3 separate additions and whisk until the mixture becomes thick and pale in color.
  3. Pour in the oil into the egg yolk mixture, whisking until the mixture fully combined. Then pour in the water and whisk until fully combine, then add in the orange juice and mix well.
  4. Add in the flour and whisk until the mixture is fully incorporated, add in the orange zest and mix well. Set aside.
  5. In a clean and dry bowl, beat the egg whites with an electric mixer until frothy and foamy, then gradually add in the sugar and beat on high speed until stiff peaks form.
  6. Add in the beaten egg whites into the egg yolk batter in 3 separate additions, folding in slowly and gently with a spatula until evenly blended.
  7. Pour the batter into a 18cm / 7 inch ungreased tube pan. Tap the pan lightly on the table top to get rid of any trapped air bubbles in the batter.
  8. Bake in preheated oven at 170 degree Celsius for 35-40 minutes or until your cake skewer inserted in the centre of the cake comes out clean. The cake surface should be turned golden brown.
  9. Remove from the oven, invert the tube tin immediately, and let it cool completely before un-moulding the cake.
  10. To remove the cake from the tin, run a sharp palette knife around the inside of the pan and centre core. Release the cake and run a knife along the base of the pan to remove the cake. Ready to serve....:)


Happy Orange Chiffon Cake baking !